In this assignment, we were asked to restore three photos. I chose oldphoto.jpg, patagonia.jpg
and wedding.jpg, and saved each respective image as a PSD file. This assignment was of particular
interest to me as I need to restore an image that I no
longer have a negative to. It is badly damaged and I intend to restore it with the skills I learnt while
doing this assignment. I find the Photoshop tools to be useful for such a purpose.
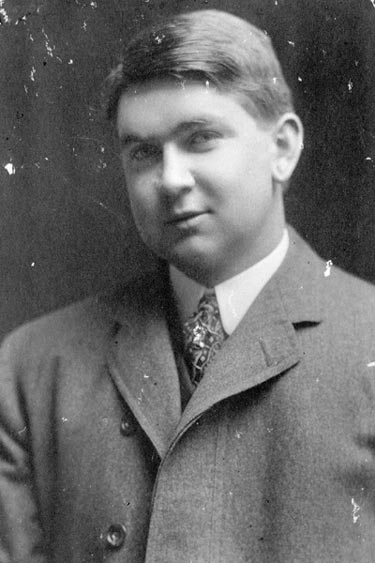
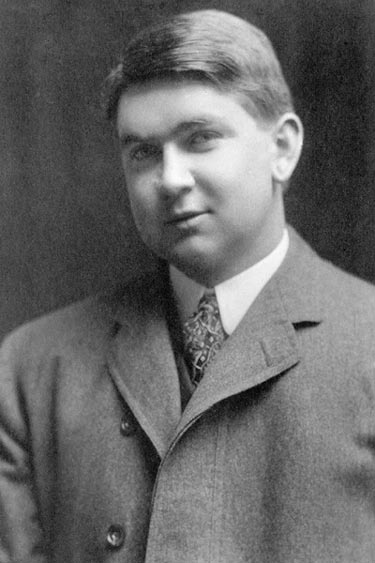
| Original Photo | Restored Photo | Image Specifications Download Time -- 56.6 Kbps |
Comments |
|---|---|---|---|
 |
 |
Width: 375 px |
When I began working with the image, I inverted it, so that the areas to be retouched would be dark black. I made use of the Spot Healing Tool in selected areas at large magnification, and then used the Rectangular Marquee Tool on the right shoulder, 1px column at a time to restore the outline of the shoulder. Next, I applied the Healing Brush Tool around the shoulder and used the Clone Tool to clean up the tie. At high magnification, I retouched the right collar with the Clone Stamp Tool -- and then inverted the whole image after cleaning up some sections with the Spot Healing Tool. Lastly, I applied the Clone Tool to the ear. |
 |
 |
Width: 375 px |
I made use of the Magic Wand to separate the sky from the land -- and used the Spot Healing Tool to clean up the sky section. I adjusted the brightness of the sky section by -60 and then did some color replacement in the land section where there was a color distortion (bottom). I desaturated the rock area to get rid of the color and used the Burn Tool to adjust the bottom area of the adjoining rock. After I did this, I made some more color replacements, adjusted the brightness and saturation of the small rock area and cleaned up around the sun with the Spot Healing Tool. Next, I used the Polygonal Lasso to remove the image's top corner and then applied the Paint Bucket. Lastly, I darkened the small rock area. I spent the longest amount of time on this area of the image. Overall, the sky and land are well balanced. |
 |
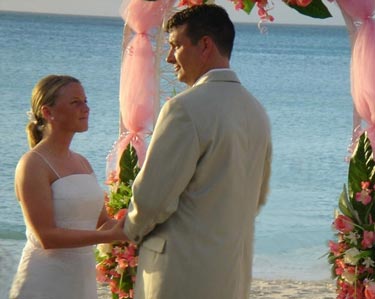 |
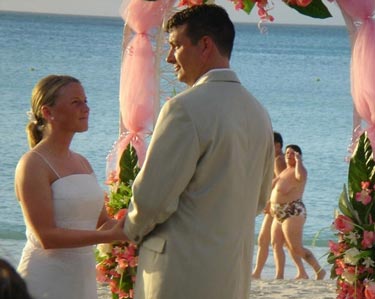
Width: 375 px |
I first eliminated the people in the background with the Eraser Tool and then applied the Clone Tool to the bottom left corner, the flowers, shore areas and clothing. I also touched up areas that I had previously touched up -- that had transparency showing through, as well as some spots in the water itself (Clone Tool). |
In this lesson, I learnt some photo restoration techniques that will benefit me in the long run. I have tried to restore photos with just Microsoft Paint, but use of Photoshop is much easier and has a wider variety of tools available to one -- and not just one type of eraser. The range of options available for use with photos is much higher and Microsoft Paint does not make use of layers. Use of layers is an advantage in photo restoration, as is the better use of different area selections. Regardless of the software that is used, one must be careful not to "photoshop" an image too much. It is better to take the photo correctly in the first place, unless the photo itself is damaged. Photoshop offers a wide variety of tools to alter the look of an image -- or damage it further. Lol